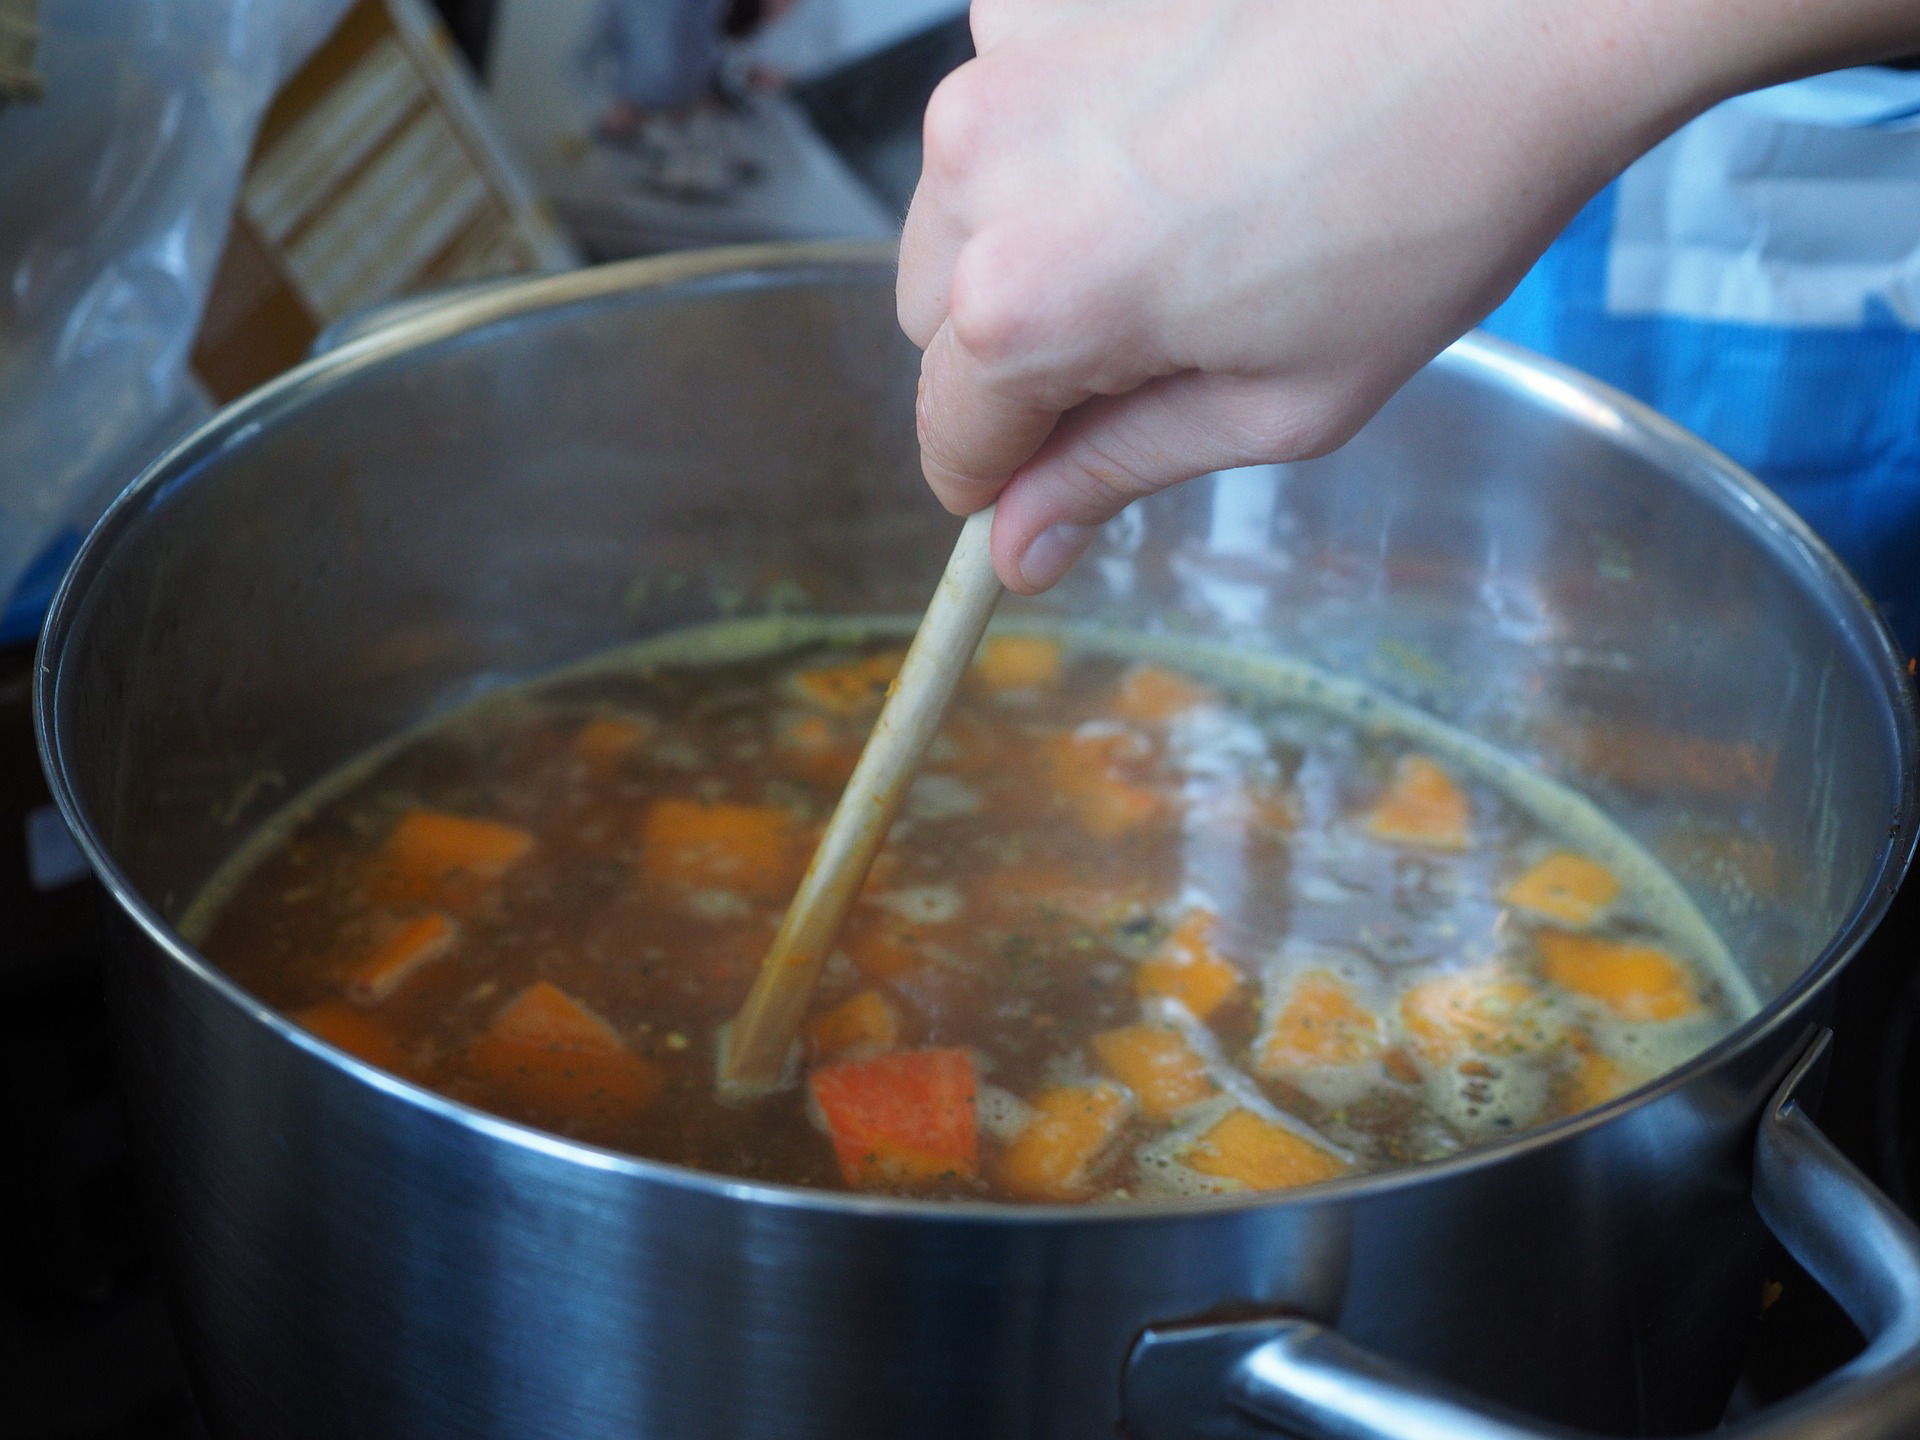
Beef bone broth

Bone broths are rich in minerals to strengthen the immune system and support healthy digestion, and have a number of other benefits including:
- Great for bones, joints, tendons, ligaments, hair, skin, nails (specifically the collagen in the broth)
- Heals and seals your gut (specifically the gelatin in the broth)
- Reduced need for meat/protein
- Helps detox (specifically the glycine in the broth)
- High in calcium and magnesium
- Fights inflammation and infection
This is a recipe for a beef bone broth, but you can also use chicken bones or frames for a milder tasting version (and it only needs to slow-cook between 12-24 hours).
Extra gelatin? Add in a couple of pig trotters or chicken feet. This will make it a very gelatinous/jelly consistency once cooled.
Ingredients
- ~1kg of grass-fed and grass-finished beef soup bones (with lots of marrow and joints)
- A freezer bag full of vegetable scraps (e.g. carrot peelings, onion tops, celery leaves) or chopped vegetables (e.g. 1 carrot, 1 onion or leek, 2 sticks of celery, few cloves of garlic)
- Filtered, mineral or spring water
- 2 tablespoons cider vinegar (e.g. Apple Cider Vinegar)
- 2-3 bay leaves
Directions
Add any knuckle/joint bones to a big pot along the vegetables, bay leaves and vinegar and let it sit for one hour. Avoid using brassicas (cabbage, broccoli, turnips, Brussels sprouts etc.) as these vegetables will lend a bitter flavor to your stock. Instead, garlic, leeks, mushrooms, onions, carrots and celery add great flavour.
(optional) If you have any meaty bones roast those at 200 degrees Celsius for about an hour until the bones are well-browned and fragrant. Roasting the bones ensures a good flavour in the resulting beef stock. Failure to do so may lend a sour or off-taste to the end product. Once done add the roasted meaty bones into your pot.
Add filtered water to the pot, cover and bring to a boil.
Ensure you skim off any scum that comes to the top before turning down the heat.
If you’re using the pot to make the stock then turn it down to a low temperature and let it simmer between 24-48 hours. If you’re using a slow-cooker then transfer the stock from the pot into it and let it simmer between 24-48 hours (though I admit I usually just do it all in the slow-cooker and simply turn it on at this point)
Throughout the cooking process, skim off any foam and add water as needed.
When the stock is finished simmering, filter through a fine mesh sieve and pour into glass jars, or suitable containers to place into the freezer. For example, use ice-cube trays, or pour about 2-3 cm (height) of liquid into a larger container and freeze, and then take it out once frozen and use a knife to cut frozen stock into smaller cubes.
The stock should set just like gelatin, and the fat should rise to the top and then you can scoop off the fat and reserve for cooking if desired.
The stock can be drunk on its own in a cup with some extra hot water and salt/pepper or desired herbs/spices, or added into any meal during the cooking process.
To store: if you have a thick layer of solidified fat on top of the liquid, you can keep it in the fridge for a couple of weeks. If you don't then only keep it for 3-4 days, or keep the rest in the freezer. I like to pop mine into ice cube trays, or shallow plastic pots which I then chop into square blocks once frozen, that I can easily access from the freezer and put them into a cup and add boiling water (and extra spices) to.
